Monday, March 23, 2015

Week #2 : PTC & # 12: Texture via layers & 13: Change one thing Poster

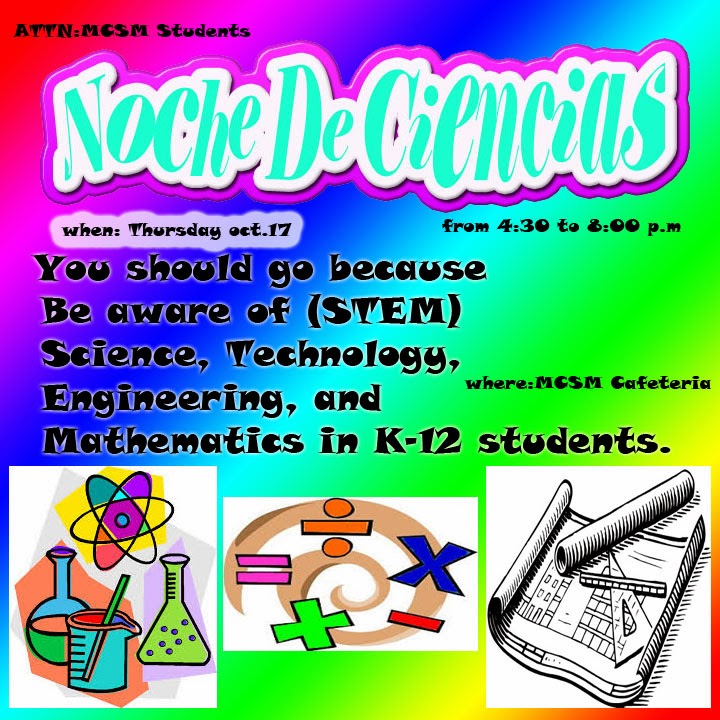
#11: Flyer from scratch of "STEM Career workshop"... due 10/22/15
did you create your blog yet? we are replacing the Powerpoint with blog.

#12: Adding Texture via Layers  due 10/23/15


Click on the hash tag # for the instruction...
submit .psd & .jpg with blog link to your summary to complete this project.

Do now: make a QR code for your poster... put your own on the top corner of your Poster.
example: http://tzs101.blogspot.com/ = 

***********************************************************
#13: Change one thing Poster from NYC Food Bank due 10/26/15


day 1: find a junk food and a healthy food alternative.... (follow instruction from assignment 12)


day 2: create Poster - New file size 5" width x 7" height at 300 resolution 

add your text like the examples.(headline, reason for change...)

day 3: add logo and text like the original poster...

submit .psd & .jpg with blog link to your summary to complete this project.

Software: Adobe Photoshop

Using what you learned from assignment #12 think about how you can mimic the official Poster from Food Bank NYC's EATWISE Program for Teens. learn more at http://eatwiseteens.org/  or go tohttp://www.foodbanknyc.org

Identify the different elements that make it Multimedia… what PS effect do you see in the official poster from Food Bank
To get a 100 on this assignment you must:
state the background - Solid or gradient?
how you created the "new" food?
correctly identify the type of blending options used in this poster.
and research the benefit of the Healthy food for your main headline; sub-headline.

Lastly add a disclaimer for the use of the NYC FOOD BANK logo. post this on your summary:
The NYC FOOD BANK Logo was used solely for educational purpose. No Copy Right infringement was intended.


Tuesday, March 17, 2015

Transferring your powerpoint to online blogging.

Now we are done with 10 assignments, lets POST your work on a blog.

you should have shared your finalized .pptx with me already. if not send .pdf as attachment.

then Convert (save as) all slides to .JPG ( you will have a folder with 18 slides).


we are using Google Blogger to do this.  (sign in with your gmail acct.)

follow direction to create a new BLOG... title it with your name's Multimedia portfolio.

make your own website address or URL... send URL to me.
***************************************************
if you are ahead...

#11 Club Flyer
Open a NEW file either 7" x 5" or 5"x 7" depending if you want a vertical or horizontal orientation. 100dpi

make a flyer about your club... 

create a GRADIENT BACKGROUND...
example 

then answer the
WHO: You or your classmates
WHAT: Club name
WHEN: Time of club meeting time
WHERE: Room you meet in
WHY: your reason

write then out in the 3 out of the 4 different text styles we learned from 1st marking period.

add a graphic to finish. send .PSD & .JPG with your blog URL in the body of the email...

Friday, March 13, 2015

Update and reflect on what your learn this marking period

what do your think you will be getting in this class?

-were you attending everyday on time, and on time with the assignments?
-did you learn everything that was taught in the class? if you did the test was too easy....

update  your powerpoint with all the assignments and reflection summaries... upload to Google Drive and share with Ms. Wang

E.c. goto send mail... search " mcsm3d@gmail.com"
       send a screen shot of your emails.... what date you submit all the assignment... to check if they were on time....


1st marking period check list

Assignment: 
1: Business Card 
2: Multimedia Essay
3: Photoshop Filters
4: Postcard via Photoshop Layers
5a: Opacity
5b: Photoshop coloring with Fill function
5c: Black & White with color tints
6a: Gradient (chick)
6b: Gradient Creation (3 gradient options + 1 brush stamp)
6c: Cover for PowerPoint

Mid-Final: Powerpoint of assignment 1-6c

************ "Tutorial Board ***********
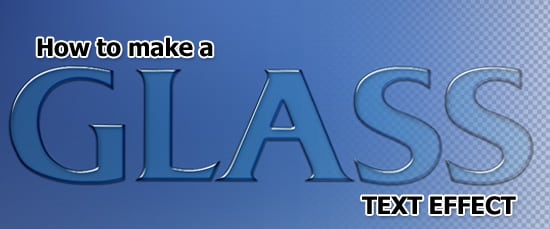
7: Glass Text Effect of your first name
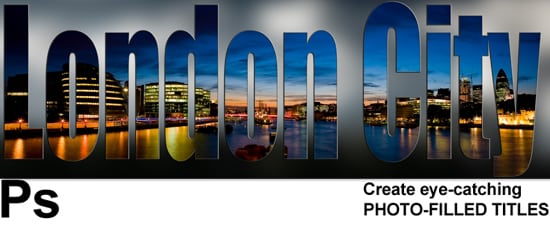
8: Photo-filled text effect of your Last name
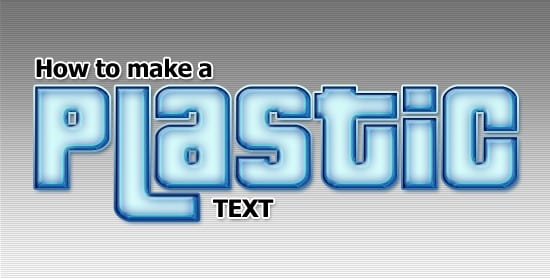
9: Plastic texture text effect of your Last name with Class of 20 _ _
10: Test "Crazy" text effect of your first name 
Final Powerpoint Create & upload to your own blog.

Thursday, March 5, 2015

7-10: Photoshop text effects

goto tutorialboard.net

 http://www.tutorialboard.net/category/photoshop/text-effects/
choose photoshop basics
then text effects.
 assignment #7-10

Archive for 'Text Effects'

# 7: Due 10/08/15 >>> http://www.tutorialboard.net/photoshop-glass-text-effect/

Photoshop Glass Text Effect

Hello and welcome to another free Adobe Phtotoshop tutorial, today we are going to create a Photoshop Glass Text Effect. We are going to demonstrate how you can achieve in just a couple of steps a Photoshop Glass Text Effect only using layer styles, also the PSD file is available for download to copy and paste the effect.

Continue Reading

Update your powerpoint to slide #13 with printout for signature...Due Monday 3-9-15

Week# 5
# 8: due 10/9/15 >>>http://www.tutorialboard.net/create-eye-catching-photo-filled-titles-in-photoshop/ 

Instead of writing the 'London City' write your LAST NAME for this assignment # 8 
Create eye-catching PHOTO-FILLED TITLES in Photoshop

Create eye-catching PHOTO-FILLED TITLES in Photoshop

by .15
In this easy to follow tutorial we are going to pull off a filling text effect with a image We are going to type text and use a clipping mask to clip the photograph so that it only shows through the letters. Because the letters are on an editable type layer, you can change the text even after the letters are filled with the image.

Continue Reading

# 9: Due 10/13/15 >>>http://www.tutorialboard.net/plastic-text/ 

Instead of writing the 'Plastic' write your LAST NAME with your CLASS for this assignment # 9 
example:                                                         WANG 2015


How to make a Plastic Text in Photoshop CS4

Posted by .
9
In this tutorial, we’re going to create a Plastic Text effect using layer styles one of the coolest features of Adobe Photoshop CS4, with layer styles we can create all sorts of effects glass, plastic, ice, water, metal, and many more so without losing any more time let’s get started. You can download the PSD file at the bottom of the tutorial if you’d simply like to copy+paste the layer styles.

Continue Reading


1st marking period test

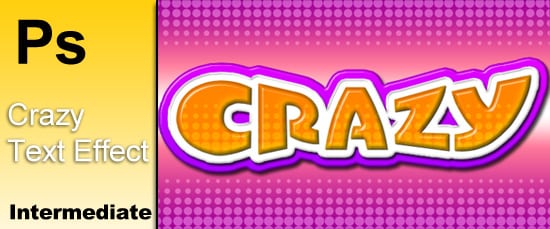
# 10: Due 10/16/15>>> http://www.tutorialboard.net/create-a-crazy-text-effect-using-layer-styles/

Create A Crazy Text Effect Using Layer Styles

8

In this tutorial we are going to create a cool text effect from ground up,by using layer styles and a couple of phtoshop filters to achieve a interesting cool looking effect. The text effect tutorials are covered many times by different tutors and photoshop related websites but with layer styles the possibility’s are endless and mastering them is the key to your success to create unique designs.

Continue Reading

Monday, March 2, 2015

6 (a) Gradient Chick (b) your own creation (c) powerpoint cover!

aim: Gradient button & Brush options...

What are the names and function of each button of the Photoshop tool bar? see answer1 
more about tool bar...


6A: Explore Gradient tool - draw a gradient Chick

Open a new Photoshop file 6"x4" 100 resolution

Create a background.

set the foreground and back ground color to light blue and dark green respectively. 

click on the gradient tool with the "linear gradient" (1st option) draw a vertical line.
Add text for the title.

make a new layer
click on the gradient tool with the "radial gradient" mode

then select the " foreground color to transparent mode"

choose "Yellow" for the body of the Chick

from the center of your canvas draw a radius to decide how big your Chick will be.

continue at this setting and change the color to WHITE to draw the eyes.

Change tool to brush and set the color to black and then dot the Iris/Pupil of the eyes.

Back to gradient tool and choose the "diamond gradient" to create the beak.

Draw in the missing feet with the brush tool.

Lastly choose the stamping option and choose #134 for the grass... (color of the grass can be set to green at this point).


Save as .PSD and .JPEG and send as attachment.
***************************************************************
6B: Create your own drawing using the gradient tools and stamping tools.

Use the other gradient tool options (3 out of 5)
and Stamping tool

Be creative!


**********************************************************************************************
6C: Cover for the powerpoint.
Open a new File with the following dimension 6" x 4"  with 300 resolution in a white background.

Also make sure your foreground and background color are set to black and white color
goto Window menu and select layers to toggle the layer window 

Duplicate the layer by right clicking the background layer.
goto Filter and choose Render --> FIBER set the Variance to 40 and Strength of 4
then another Filter choosing Blur --> Motion Blur with Angle of 90 and distance of 999
your pciture should have "streaks"

Goto Blending mode (by right clicking on the layer) 
check gradient overlay of rainbow with 0 degrees 
don't forget to overlay the gradient over the "streaks"

Finally, input the text of your name's 1st Marking Period Multimedia Portfolio TZS101-02,5,6,8 (choose your period) check off outer glow and others effects you like for the fonts.


IF you are done.... fast forward to # 7: Glass text effect (first name)